
Imagine flipping on your kitchen faucet, only to hear a strange gurgle followed by a slow drip from under the sink. If your home is pushing 50 years old, those copper pipes might be whispering warnings of trouble ahead. Aging house plumbing is a common headache for homeowners like you, especially in houses built decades ago when copper was the go-to material for durability and reliability. But don’t worry—reinforcing those old pipes can save you from bigger disasters down the line.
Understanding Copper Pipes and Their Aging Process
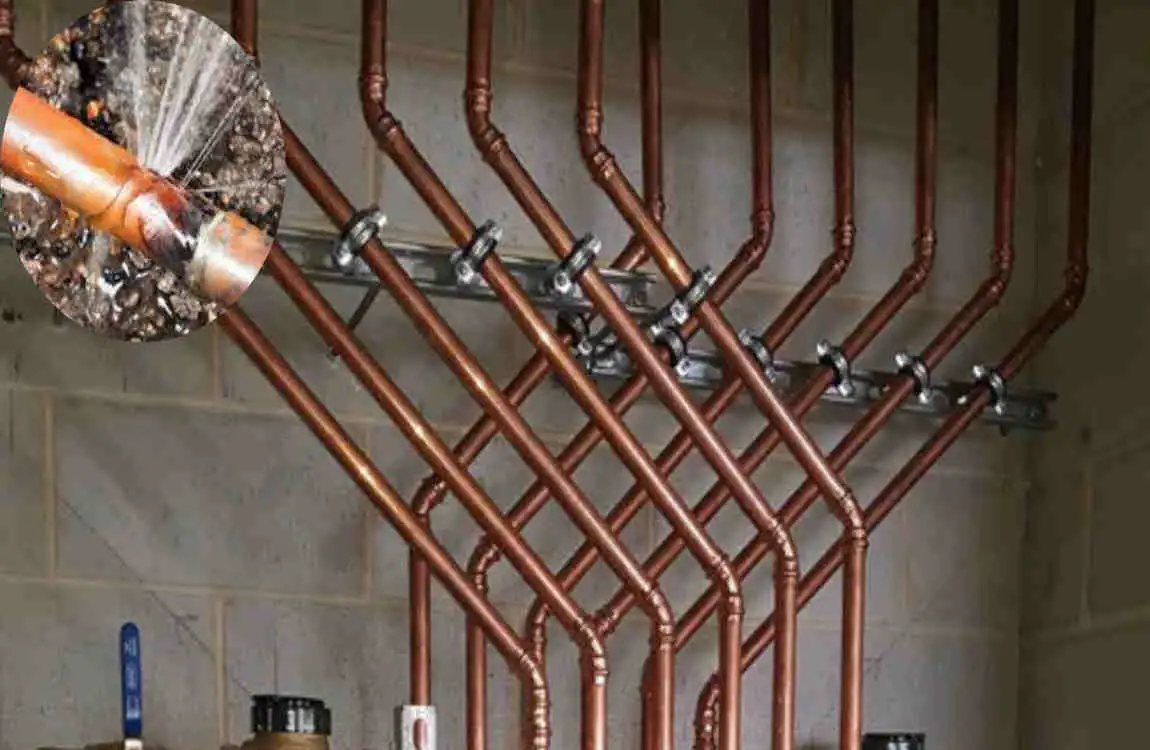
Copper pipes are like the unsung heroes of your home’s plumbing system. Made from a reddish metal that’s naturally tough, these pipes carry water from your main supply to every faucet, shower, and appliance. Builders love them because they’re flexible, resist bacteria, and don’t easily corrode like iron or steel. In fact, copper has been used in plumbing for over 80 years, making it a reliable choice for homes built in the mid-20th century.
Assessing the Condition of Your 50-Year-Old Copper Pipes
Before you dive into how to reinforce 50 a 50-year-old copper pipe in the modren house, you need to know what you’re dealing with. Assessing your pipes safely is key—it’s like giving your plumbing a check-up. Start by locating exposed pipes in basements, attics, or under sinks. Wear gloves and safety glasses to protect yourself from dust or sharp edges.
Grab a flashlight and inspect visually. Run your hand along the pipe (gently!) to feel for rough spots or bulges. Listen for hissing sounds that might indicate leaks. If pipes feel unusually warm or cold, it could signal an issue.
Why Reinforcement is Better Than Complete Replacement
Let’s talk money first. Replacing all your copper pipes can cost between $5,000 and $15,000, or more, depending on the size of your home. Reinforcement? Often under $1,000 for DIY jobs, focusing only on problem areas. You save big without skimping on safety.
Step-by-Step Guide: How to Reinforce 50 a 50-Year-Old Copper Pipe in a House
Ready to get hands-on? This guide walks you through how to safely and effectively reinforce a 50-year-old copper pipe in the house. We’ll break it into clear steps so that you can tackle it one piece at a time. Remember, if you’re new to this, start small and consult a pro for big jobs.
Prepare Your Workspace and Tools
Safety comes first—always. Wear protective gear, such as gloves, goggles, and a mask, to avoid inhaling dust or chemicals. Clear the area around the pipes by moving furniture or boxes to create space.
Gather your tools: pipe cutters, sandpaper, epoxy kits, fiberglass tape, clamps, and a wrench set. Don’t forget materials like cleaning solutions and sealants designed for copper.
Shut off the water supply. Locate your main valve, usually near the meter, and turn it clockwise. Drain remaining water from faucets to reduce pressure. This prevents surprises, such as sprays, while you work.
Double-check everything. Have a bucket handy for drips? Good lighting? You’re set.
Clean and Treat the Pipe Surface
Dirt and corrosion are enemies of strong reinforcement. Start by wiping pipes with a dry cloth to remove loose debris.
Mix a gentle cleaning solution—vinegar and salt work wonders for copper, eliminating the need for harsh chemicals. Apply it with a soft brush, scrubbing in circular motions to lift buildup.
Rinse thoroughly with clean water and dry completely. Moisture left behind can trap problems.
Now inspect again. Shine a light to spot any hidden cracks or pits that the cleaning may have revealed. If you find significant damage, pause and consider professional help.
This step ensures your reinforcement sticks properly, like prepping a wall before painting.
Apply Pipe Reinforcement Techniques
Time to strengthen those pipes. For small cracks or pinholes, grab an epoxy repair kit. Mix the putty as instructed, apply it over the damage, and smooth it out. It hardens like a rock, sealing leaks effectively.
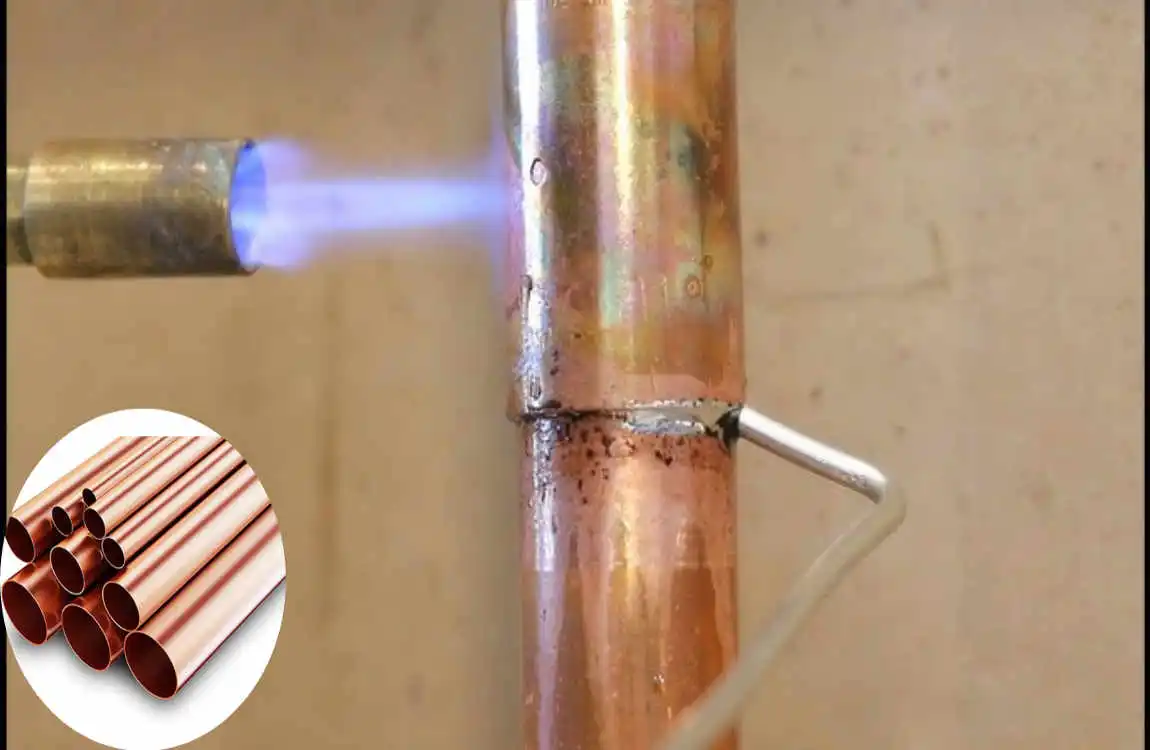
Wrapping is excellent for added strength. Use fiberglass or resin tape—wrap it tightly around weak sections, overlapping layers for durability. Let it cure per the package directions.
Install pipe sleeves or clamps for bigger weak spots. Slide the sleeve over the pipe and secure it with screws. These act like a supportive brace.
Compression fittings help make joints. Twist them on to connect sections without soldering, providing a quick, leak-proof fix.
Here are some practical tips in a handy list:
- Work in sections: Don’t overwhelm yourself—reinforce one pipe at a time.
- Use even pressure: Avoid over-tightening clamps to prevent new damage.
- Check compatibility: Ensure all materials are copper-safe to avoid reactions.
- Allow curing time: Patience pays off for long-lasting results.
These methods make reinforcing 50 a 50-year-old copper pipe in the house straightforward and durable.
Test and Monitor the Reinforced Pipes
You’ve done the hard part—now test it. Slowly turn the water back on at low pressure to start. Watch for leaks or drips.
Run water through faucets and listen for unusual noises. Use your moisture meter again to confirm everything’s dry.
Set a monitoring schedule: Check weekly for the first month, then monthly. Look for new corrosion or pressure changes.
If issues arise, address them promptly. This ongoing vigilance keeps your reinforcement effective.
By following these steps, you’ll extend the life of your pipes and gain confidence in your home maintenance skills. How satisfying is that?
Professional Reinforcement Options and When to Hire Experts
Not every job is DIY-friendly. If you spot severe corrosion, like widespread thinning or multiple leaks, call in the experts. Complex layouts in multi-story homes or pipes hidden in walls also scream for professional help.
Pros use advanced methods like pipe relining, where they insert a liner inside your existing pipes, creating a new barrier without the need for demolition. Soldering upgrades reinforce joints with heat and metal alloys for extra strength.
Select a qualified plumber by verifying their reviews, licenses, and experience with copper systems. Request references and obtain multiple quotes.
Hiring pros ensures safety and quality, especially when learning how to reinforce 50 a 50-year-old copper pipe in the house feels overwhelming. It’s an investment in peace of mind.
Maintenance Tips to Prolong the Life of Reinforced Copper Pipes
You’ve reinforced—now maintain. Preventive measures start with installing water softeners to combat hard water buildup.
Clean pipes regularly using safe solutions, avoiding harsh chemicals that could erode reinforcements.
Monitor water quality: Test pH levels annually and aim for a neutral level to prevent acidity damage.
Schedule seasonal inspections, especially before winter, to identify and address freeze-related risks.
These habits help reinforce the 50-year-old copper pipe in your house design, making it last longer. What small step will you take today?